Connect Coinbase Wallet to Hyperliquid: Complete 2026 Guide
Table of Contents
- Why Coinbase Wallet Works Well with Hyperliquid
- Coinbase Wallet vs. Coinbase Exchange: What You Need to Know
- Prerequisites
- Step-by-Step: Connect Coinbase Wallet to Hyperliquid
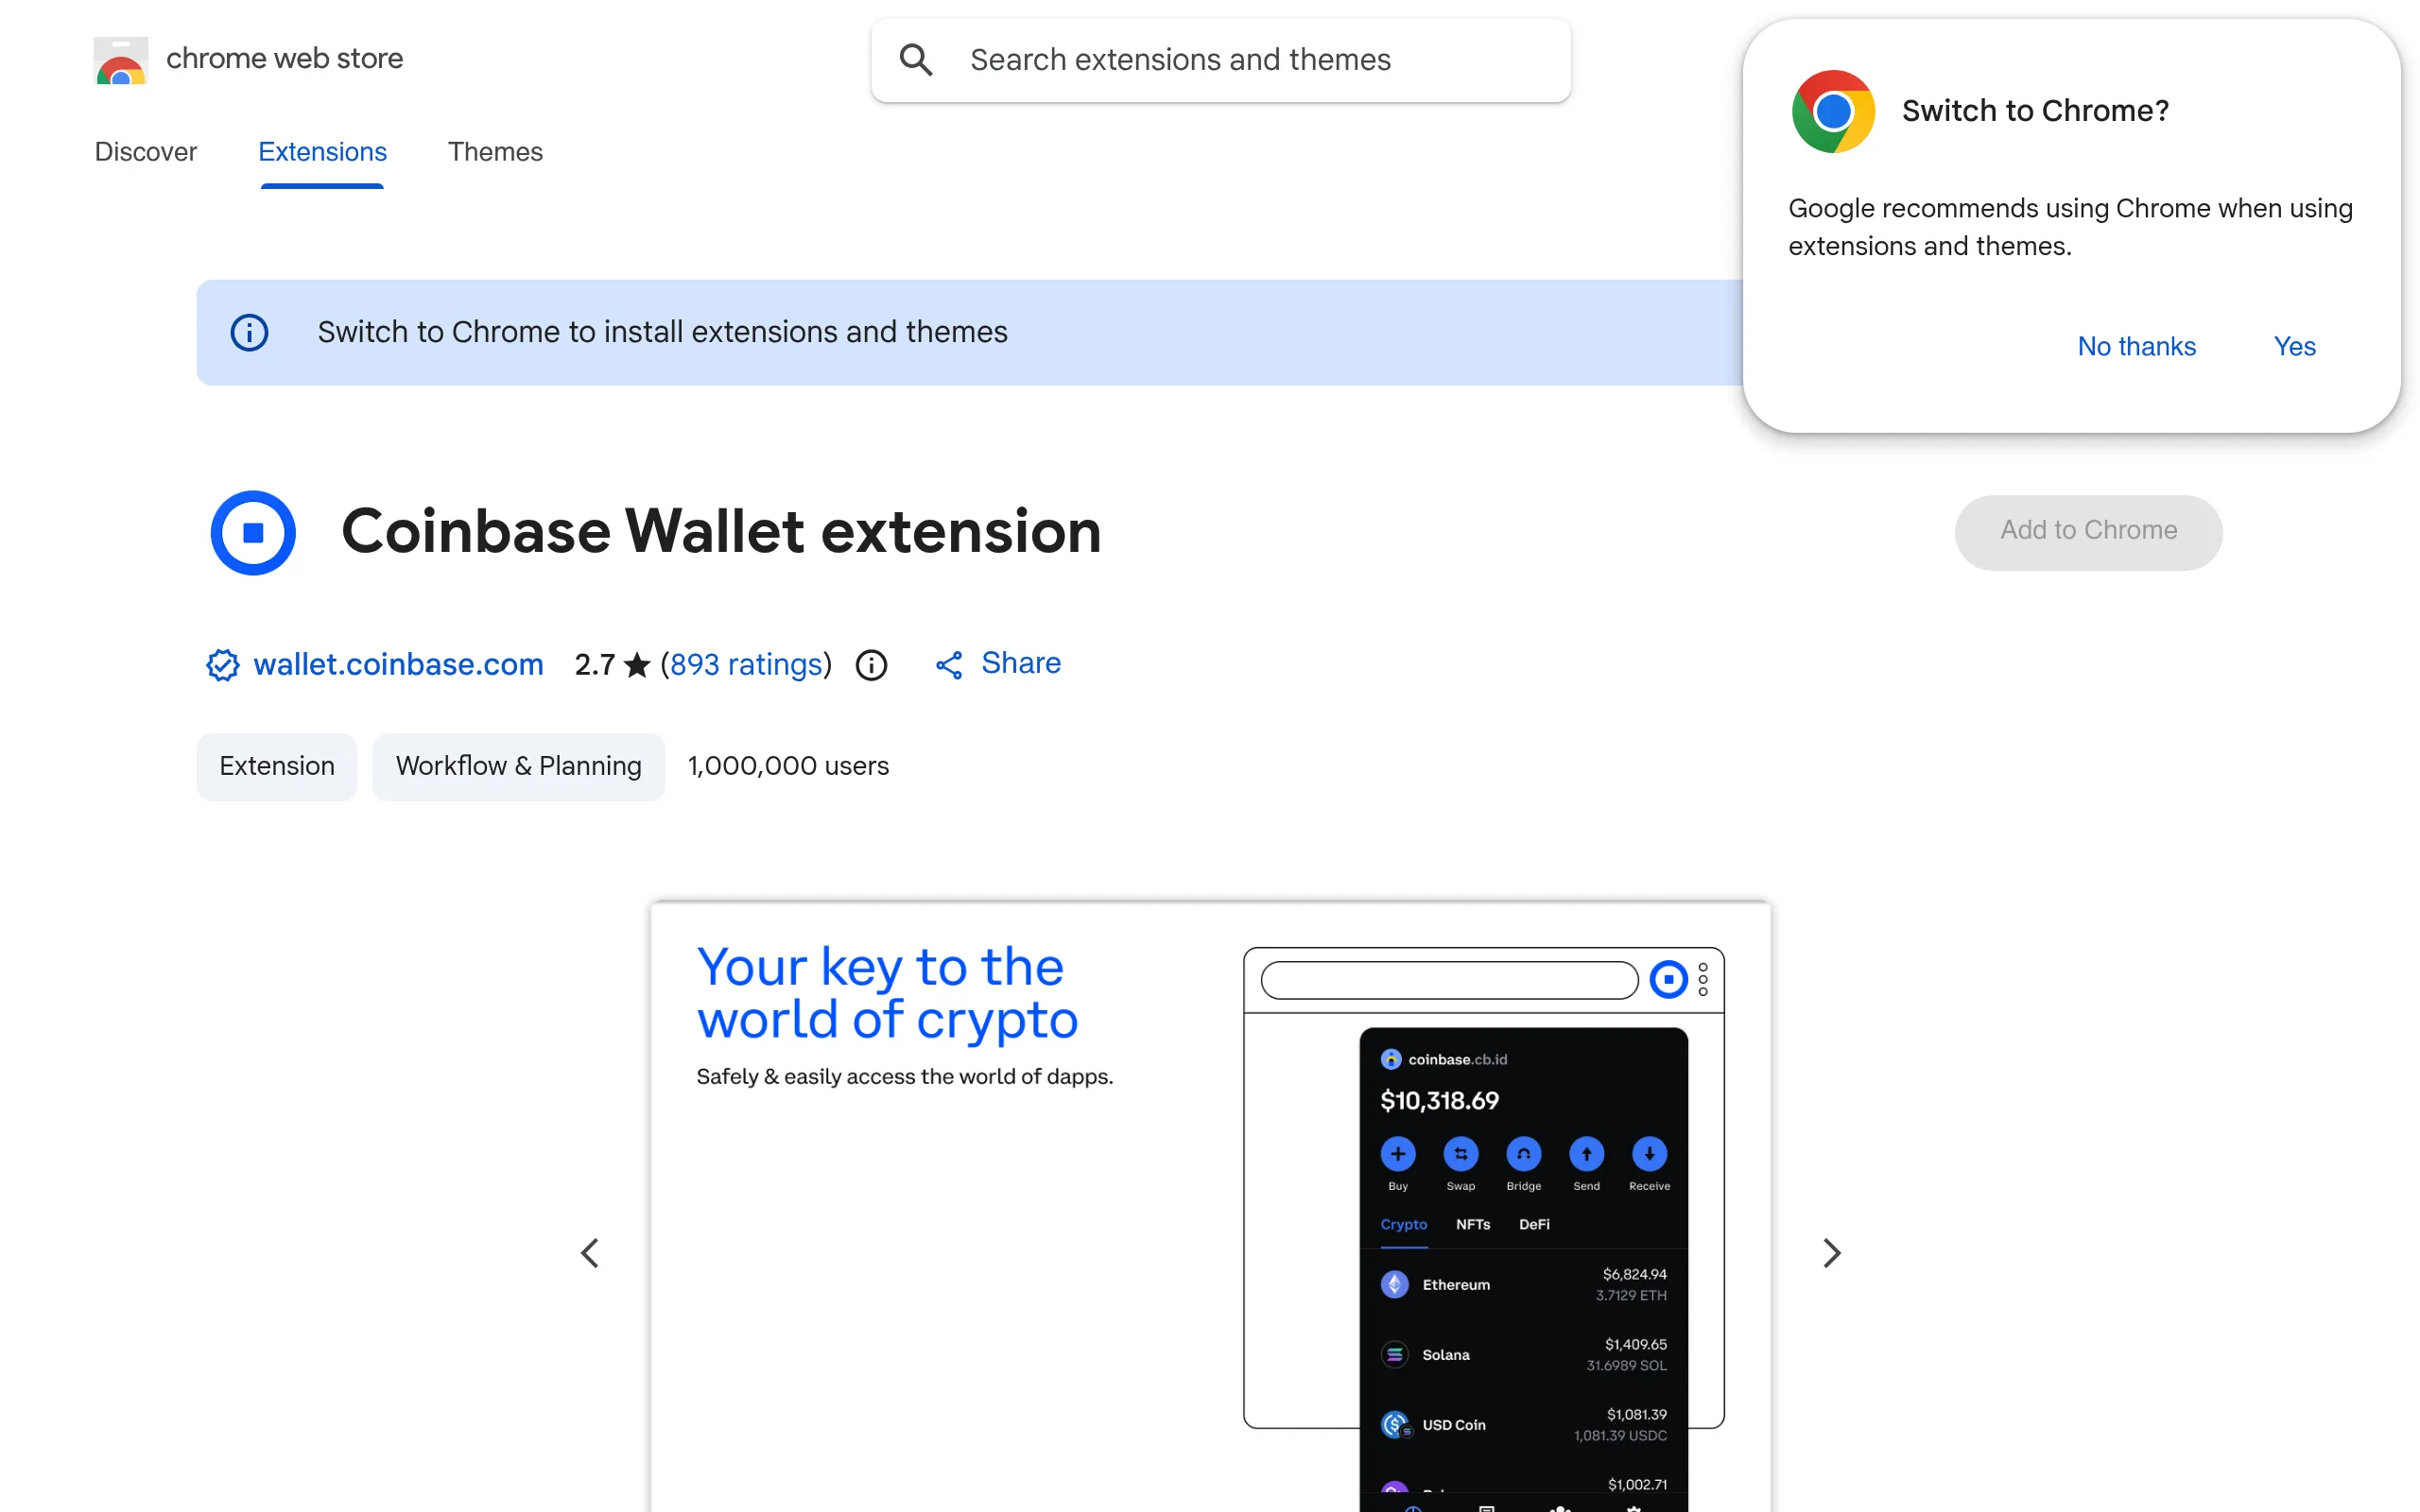
- Step 1: Install Coinbase Wallet
- Step 2: Fund Your Wallet with USDC on Arbitrum
- Step 3: Connect to Hyperliquid (Browser Extension)
- Step 3 (Alternative): Connect via Mobile with WalletConnect
- Step 4: Apply a Referral Code (Critical - First Connection Only)
- Step 5: Deposit USDC
- Transferring Funds from Coinbase Exchange to Coinbase Wallet
- Step-by-Step Transfer
- Troubleshooting Common Connection Issues
- Coinbase Wallet Does Not Appear in the Wallet List
- Connection Approved but Nothing Happens
- WalletConnect QR Code Expired
- Network Mismatch or Wrong Chain Error
- Transaction Stuck Pending
- Mobile vs Desktop Coinbase Wallet Differences
- Next Steps
To connect Coinbase Wallet to Hyperliquid, open app.hyperliquid.xyz in your browser, click Connect, and select Coinbase Wallet - no KYC, no account creation, and the whole process takes under 2 minutes. On mobile, use WalletConnect to scan a QR code from the Coinbase Wallet app.
According to Hyperliquid's official documentation, the platform supports any EVM-compatible wallet via WalletConnect, including Coinbase Wallet. The Coinbase Wallet support team confirms WalletConnect compatibility with dApps that adhere to the EIP-1193 provider standard, which includes Hyperliquid.
Why Coinbase Wallet Works Well with Hyperliquid
Coinbase Wallet is one of the most accessible self-custody wallets for people entering DeFi for the first time. If you already use the Coinbase exchange, the wallet feels familiar - but it gives you something the exchange cannot: full control over your private keys. That self-custody model is exactly what Hyperliquid requires.
Unlike centralized exchanges where you hand over your funds and trust the platform, Hyperliquid is non-custodial. Your wallet is your account. Coinbase Wallet handles this well because it was designed to bridge the gap between centralized and decentralized finance. It makes self-custody approachable without sacrificing the control that DeFi demands.
Info
Quick Summary - Connecting Coinbase Wallet to Hyperliquid
- Coinbase Wallet (not the Coinbase exchange app) is required - it is a separate self-custody wallet
- Connection methods: browser extension (Chrome/Brave) or WalletConnect QR code (mobile)
- Network: Coinbase Wallet must be set to Arbitrum One before connecting
- Connection takes under 60 seconds - visit app.hyperliquid.xyz, click Connect, select Coinbase Wallet
- Zero gas cost to connect - gas is only needed when depositing USDC (Arbitrum gas: ~$0.10-0.50)
- No KYC, no email, no account creation - just connect and trade
- As of March 2026, trading fees: 0.045% taker / 0.015% maker for perps, zero gas on all trades
Warning
Coinbase Wallet vs. Coinbase Exchange: What You Need to Know
This distinction trips up a lot of first-time users, so let us be very clear.
| Feature | Coinbase Wallet | Coinbase Exchange |
|---|---|---|
| Type | Self-custody (you hold keys) | Custodial (Coinbase holds keys) |
| Private keys | Only you have access | Coinbase controls them |
| DApp connections | Yes - connects to Hyperliquid | No - cannot connect to dApps |
| KYC required | No | Yes |
| Recovery | Seed phrase (your responsibility) | Email/password + 2FA |
| Works with Hyperliquid | Yes | No |
If you currently only use the Coinbase exchange and do not have Coinbase Wallet, you will need to install it separately. The good news is that transferring funds between the two products is straightforward - Coinbase designed them to work together, so you can move USDC from the exchange into your self-custody wallet in just a few minutes with minimal fees.
Prerequisites
Before connecting Coinbase Wallet to Hyperliquid, make sure you have:
- Coinbase Wallet installed - either the browser extension (Chrome, Brave) or the mobile app (iOS, Android)
- USDC on the Arbitrum network in your Coinbase Wallet (for depositing into Hyperliquid)
- A small amount of ETH on Arbitrum (under $1, for the one-time bridge gas fee)
- A supported browser - Chrome or Brave for the extension; any mobile browser for WalletConnect
Tip
Step-by-Step: Connect Coinbase Wallet to Hyperliquid
1Install Coinbase Wallet
If you already have Coinbase Wallet installed, skip to Step 3. Otherwise, choose between the browser extension (best for desktop trading) or the mobile app (best if you prefer WalletConnect or trading on the go). Both options give you the same self-custody wallet with the same recovery phrase - you can even use both simultaneously.
For Browser Extension:
- Go to coinbase.com/wallet
- Click "Download Coinbase Wallet" and select the browser extension
- Click "Add to Browser" and confirm the installation
- The wallet will open a setup page - choose "Create New Wallet" or "Import Existing Wallet"
- If creating new: write your 12-word recovery phrase on paper and store it safely offline
- Set a strong password
For Mobile App:
- Download Coinbase Wallet from the App Store (iOS) or Google Play (Android)
- Open the app and tap "Create a new wallet" or "Import an existing wallet"
- Back up your recovery phrase and set a PIN or biometric lock
Warning
2Fund Your Wallet with USDC on Arbitrum
Before connecting to Hyperliquid, you need USDC on the Arbitrum network inside your Coinbase Wallet. Hyperliquid uses Arbitrum as its deposit layer, so USDC on other networks (Ethereum mainnet, Polygon, etc.) will not work until bridged. There are a few ways to get USDC onto Arbitrum in your wallet.
From the Coinbase Exchange (Easiest):
- Open the Coinbase exchange (app or website)
- Go to your USDC balance and tap "Send"
- Enter your Coinbase Wallet address (you can find it by opening Coinbase Wallet and tapping "Receive")
- Select Arbitrum as the network
- Confirm the transfer
From Another Wallet or Via Bridge:
If your USDC is already in another wallet on the Arbitrum network, simply send it to your Coinbase Wallet Ethereum address. If your USDC is on Ethereum mainnet instead, you will need to use the official Arbitrum bridge or a third-party bridging service like Jumper or Across to move it to Arbitrum first - this typically takes 1-10 minutes depending on the bridge used.
Info
3Connect to Hyperliquid (Browser Extension)
- Open your browser and navigate to app.hyperliquid.xyz
- Click the "Connect" button in the top-right corner
- Select "Coinbase Wallet" from the wallet options
- Coinbase Wallet will pop up requesting connection approval - review the site details and click "Connect"
- You may be asked to sign a message to verify wallet ownership - click "Sign"
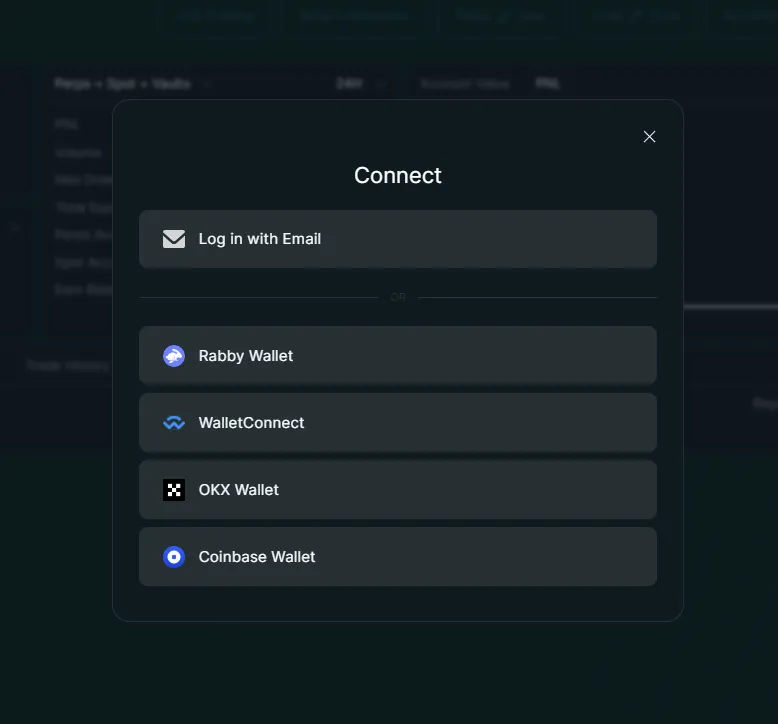
Coinbase Wallet connection approval popup
Once approved, your wallet address will appear in the top-right corner of Hyperliquid, confirming a successful connection. From this point on, Hyperliquid will remember your wallet and reconnect automatically whenever you visit the site with your Coinbase Wallet extension active - you will not need to repeat this process.
3(Alternative): Connect via Mobile with WalletConnect
If you are using the Coinbase Wallet mobile app:
- Open app.hyperliquid.xyz in your phone's browser (or desktop browser)
- Click "Connect" and select "WalletConnect"
- A QR code will appear on screen
- Open the Coinbase Wallet mobile app
- Tap the scan icon (QR code scanner) in the app
- Scan the WalletConnect QR code displayed on the Hyperliquid page
- Review the connection request in the app and tap "Approve"
WalletConnect QR code displayed on Hyperliquid connection screen
First Time on Hyperliquid? Get 4% Off All Fees
Apply a referral code during your first wallet connection for a permanent 4% fee discount. This one-time opportunity cannot be used retroactively.
Connect with Fee Discount4Apply a Referral Code (Critical - First Connection Only)
The first time you connect a wallet to Hyperliquid, you have a one-time opportunity to apply a referral code. Our code (Concept211) gives you a 4% discount on all trading fees for the lifetime of your account, up to your first $25 million in volume. See our referral code page for full details on how the discount works. If you connected through our referral link, the code is applied automatically. Otherwise, check the referral section in your account settings to see if a code is active - it is worth verifying, because this discount compounds into meaningful savings as your trading volume grows.
Important
5Deposit USDC
With your wallet connected, you can deposit funds to begin trading. This step bridges your USDC from the Arbitrum network into your Hyperliquid trading account - once deposited, you can trade perpetual futures and spot markets with zero gas fees on every order.
- Click the "Deposit" button on Hyperliquid
- Enter the amount of USDC you want to deposit
- Coinbase Wallet will display the transaction for approval - review and click "Confirm"
- Wait approximately 1-2 minutes for the deposit to confirm
Your deposited USDC will appear as available balance in Hyperliquid, ready for trading. If your deposit does not appear after a few minutes, see our deposit not showing troubleshooting guide. For a detailed walkthrough of the deposit process, see our complete USDC deposit guide.
Transferring Funds from Coinbase Exchange to Coinbase Wallet
One of Coinbase Wallet's biggest advantages is the seamless transfer between the Coinbase exchange and the self-custody wallet. If you hold assets on Coinbase, you can move them to Coinbase Wallet in minutes.
Step-by-Step Transfer
- Open the Coinbase exchange app or website
- Navigate to your USDC balance
- Tap "Send"
- In the recipient field, paste your Coinbase Wallet address (find it under "Receive" in Coinbase Wallet)
- Choose Arbitrum as the withdrawal network (this avoids expensive Ethereum mainnet fees)
- Enter the amount and confirm the transfer
Tip
Your USDC will appear in your Coinbase Wallet on the Arbitrum network within a few minutes, ready to deposit into Hyperliquid. You can verify the balance by opening Coinbase Wallet and checking that the network is set to Arbitrum - the USDC should show under your token list.
Troubleshooting Common Connection Issues
Coinbase Wallet Does Not Appear in the Wallet List
- Check the extension is installed and unlocked - Click the Coinbase Wallet icon in your browser toolbar
- Disable competing wallets - MetaMask or Rabby may intercept the connection. Disable them temporarily
- Use WalletConnect as a fallback - If the direct option is not showing, select WalletConnect and scan the QR code with Coinbase Wallet's mobile app
- Try a different browser - Coinbase Wallet extension works best on Chrome and Brave
Connection Approved but Nothing Happens
This usually occurs when browser security settings or extensions block the communication between Coinbase Wallet and the Hyperliquid page. Disable any ad blockers or privacy extensions for app.hyperliquid.xyz, make sure pop-ups are allowed for the domain, and clear your browser cache for the site. Also check that you are not in an incognito or private window, since browser extensions are often disabled in those modes by default.
WalletConnect QR Code Expired
WalletConnect QR codes have a short timeout window, typically around 60 seconds. If the code expired before you scanned it, close the connection modal on Hyperliquid, click "Connect" again, and select "WalletConnect" to generate a fresh QR code. Have your Coinbase Wallet mobile app ready with the scanner open so you can scan immediately when the new code appears.
Network Mismatch or Wrong Chain Error
If Hyperliquid reports a network error after connecting, your wallet is likely set to a different chain. Open Coinbase Wallet and switch to the Arbitrum network - when Hyperliquid prompts you to switch networks, approve the request in the wallet popup. If the issue persists after switching, disconnect your wallet from Hyperliquid completely and reconnect from scratch.
Transaction Stuck Pending
If a deposit or approval transaction stays pending for more than a few minutes, the Arbitrum network may be congested or your gas settings may be too low. Open Coinbase Wallet, go to Activity, and check the pending transaction. You can try speeding it up by increasing the gas fee, or cancel and resubmit with a higher gas limit. If the transaction shows as confirmed on Arbiscan but funds have not appeared on Hyperliquid, wait 5–10 minutes and refresh the app - bridge confirmations occasionally take longer during peak usage.
Mobile vs Desktop Coinbase Wallet Differences
The Coinbase Wallet browser extension (desktop) connects directly to Hyperliquid through your browser, while the mobile app uses WalletConnect to bridge the connection. Desktop connections tend to be faster and more stable. On mobile, make sure you are using the in-app browser in Coinbase Wallet or scanning the WalletConnect QR code - opening Hyperliquid in a separate mobile browser will not auto-detect your wallet. If you experience persistent issues on mobile, try the desktop extension instead.
Coinbase Wallet Connected? Start Trading with a Discount
Hyperliquid offers zero gas fees on trades, sub-second execution, and no KYC. Our referral code adds a 4% lifetime fee discount on top of that.
Start Trading - Save 4%Next Steps
Once your Coinbase Wallet is connected to Hyperliquid and you have deposited USDC, you are ready to explore everything the platform offers. Here are the most important next steps to get the most out of your setup:
- Deposit USDC - Bridge funds from Arbitrum into your Hyperliquid trading account
- Place your first trade - Follow our complete trading guide from deposit to first position
- Learn about bridging options - Explore different routes to move funds onto Hyperliquid
- Trade on your phone - Use Coinbase Wallet's mobile app with Hyperliquid for a full mobile trading experience
- Understand trading fees - Learn about maker/taker fees and how to minimize costs
Frequently Asked Questions
No. Coinbase Wallet is a separate self-custody wallet where you control your private keys. The Coinbase app (Coinbase exchange) is a custodial platform where Coinbase holds your funds. You need Coinbase Wallet - not the exchange - to connect to Hyperliquid.
No. Coinbase Wallet is a standalone product. You can create and use Coinbase Wallet without ever having a Coinbase exchange account. However, if you do have a Coinbase account, you can easily transfer funds between the exchange and the wallet.
Yes. You can use the Coinbase Wallet mobile app to connect via WalletConnect. On the Hyperliquid connection screen, select WalletConnect, scan the QR code with your Coinbase Wallet app, and approve the connection.
Connecting your wallet does not transfer funds. You must deposit USDC from Arbitrum into Hyperliquid using the Deposit button. Your Coinbase Wallet balance and Hyperliquid trading balance are separate accounts.
Disclaimer: This content is for informational purposes only and does not constitute financial advice. Trading perpetual futures involves substantial risk of loss. Past performance is not indicative of future results. Always do your own research before trading. This site contains referral links - see our disclosure for details.
Ready to Start Trading?
Join Hyperliquid with our referral link and get a 4% lifetime fee discount. No KYC, no email - just connect your wallet and trade.
Start Trading - Save 4%